When decorating cakes, cupcakes, cookies, or other confections, edible images offer a quick and stunning way to add personalized touches. Whether you're a professional baker or just a home baking enthusiast, edible images can elevate your creations to a new level. In this comprehensive guide, we’ll take you through the steps of cutting edible photos precisely. You’ll learn how to work with edible image paper, the best tools, and tips for achieving flawless results every time.
What Are Edible Images?
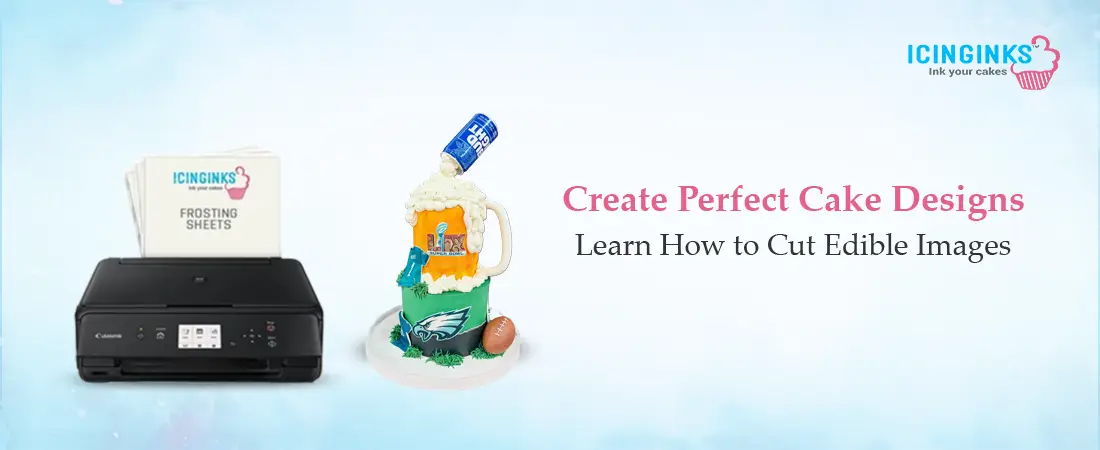
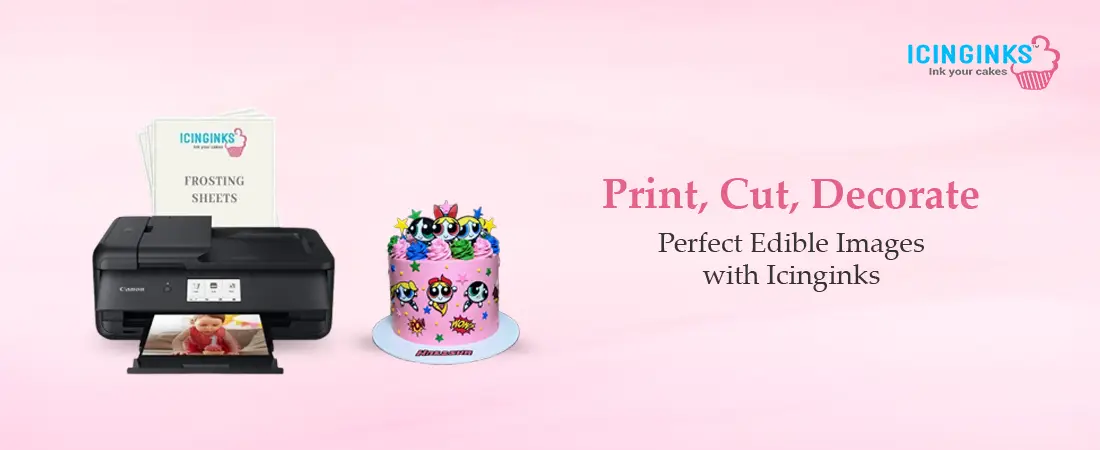
Edible images are printed designs on edible paper, often created using specialized edible image printers and edible ink. The edible paper is typically made from materials like rice or sugar, making them safe for consumption. These images are ideal for adding custom graphics, photographs, logos, and text to cakes, cookies, cupcakes, and other edible treats. Once printed, the edible images can be cut into various shapes and applied to your baked goods for a professional finish.
Tools You’ll Need to Cut Edible Images
Before cutting your edible images, having the right tools is important to make the process smooth and precise. Here’s what you’ll need:
- Edible Image Paper: The foundation of any edible image is the paper itself. Choose a high-quality edible image paper that works with your edible image printer. There are two main types: rice paper and sugar paper. Each has unique properties, so select the one that best suits your design needs.
- Scissors: A sharp pair of scissors will do the trick for most cutting jobs. Ensure the scissors are clean to avoid contamination of your edible images.
- X-ACTO Knife or Precision Cutter: If you're looking for sharper, more intricate cuts, an X-ACTO knife or precision cutter is a great option. This tool allows for more detailed work and is especially useful when cutting around fine details in the design.
- Ruler: For straight lines, a ruler can help you achieve crisp, clean edges, especially when cutting squares or rectangles.
- Edible Glue or Water: You may need edible glue or water to attach your edible images to your cakes or cupcakes. These will help the image adhere securely without causing damage.
Step-by-Step Guide on How to Cut Edible Images
Step 1: Print Your Edible Image
The first step in using edible images is to print them on edible image paper using an edible image printer. Ensure the design is the correct size for your intended use, whether for a cake, cupcakes, or cookies. It’s crucial to use edible ink for printing so that the image is safe to consume.
- Ensure your edible image printer is properly set up, and the edible image paper is loaded correctly.
- Use high-quality edible image paper for crisp, vibrant prints.
Step 2: Allow the Edible Image to Dry
After printing, it's important to let the edible image dry for a few minutes. This will prevent smudging and ensure that the colors stay intact. Although edible ink dries quickly, it’s a good idea to give the image a little extra time to ensure it’s completely set before cutting.
Step 3: Trim the Edible Image
Once the edible image is dry, you can cut it to fit your desired shape. Depending on the design, you may want to cut the image into specific shapes, like circles for cupcakes or intricate details for cakes.
- For Simple Shapes: If your design is simple, such as a square or circle, you can use clean scissors to cut around the edges of the edible image.
- For Intricate Designs: If you have a more detailed design, such as a logo or portrait, use an X-ACTO knife or a precision cutter for cleaner, more precise cuts. To avoid contamination, place the image on a clean cutting surface like parchment paper or a silicone mat.
Step 4: Use a Ruler for Straight Cuts
If your design requires straight lines, a ruler can help ensure accuracy. Place the ruler on the edible image and use an X-ACTO knife or scissors to trim along the edge. This will help you achieve straight cuts for geometric shapes or borders.
Step 5: Handle with Care
Edible images are delicate, so handle them carefully to avoid tearing or bending. If the image is large, you may want to use your hands to hold the edges while cutting gently. If you're working with small details, you can use a pair of tweezers to move the image around.
Tips for Cutting Edible Images
- Don’t Rush the Process: Cutting edible images requires patience, especially with intricate designs. Take your time to avoid mistakes.
- Use a Cutting Mat: A cutting mat is helpful when using sharp tools like X-ACTO knives. It ensures that you don’t accidentally damage your work surface and provides a steady, non-slip surface for cutting.
- Cut Slowly and Steadily: When using precision tools, always cut slowly and steadily. Rushing can lead to jagged edges or tears in the edible image.
- Store Leftover Edible Images Properly: If you have leftover edible photos, store them in a cool, dry place away from direct sunlight. Keep them sealed in an airtight container to maintain their freshness.
How to Apply Edible Images to Baked Goods
Once your edible image is cut to your desired shape, it’s time to apply it to your cake or cupcakes. Here's how to do it:
- Prepare the Surface: Make sure your cake or cupcakes are ready and frosted. A smooth surface is best for applying edible images.
- Use Edible Glue or Water: Lightly brush the back of the edible image with a small amount of edible glue or water. This helps the image stick without affecting its appearance.
- Place the Image on the Cake: Carefully place the edible image onto your cake, aligning it with the surface. Press down to secure it, but avoid applying too much pressure, which could distort the image.
- Smooth the Edges: If necessary, use your fingers to gently smooth the edges of the edible image, ensuring it sticks to the frosting and doesn’t lift.
Common Mistakes to Avoid
- Using Too Much Water: When applying edible images, too much water can cause the image to become soggy and lose its integrity. Be gentle with the application of water or glue.
- Cutting Edible Images Too Soon: If you cut the edible image before it’s completely dry, you risk smudging or distorting the design.
- Storing Improperly: If edible images are stored improperly, they can become too dry or soggy. Always keep them in an airtight container in a cool, dry environment.
Conclusion
Cutting and applying edible images is a simple yet effective way to make your baked goods stand out. With the right tools, a little practice, and attention to detail, you can quickly create professional-looking cakes, cupcakes, and cookies. Following the steps outlined in this guide, you can cut your edible images with precision and ensure they adhere perfectly to your sweet creations. Whether you're a beginner or an experienced baker, edible images offer endless possibilities for creative cake decorating.
Create Stunning Custom Cakes with Icinginks Edible Printers and Paper
At Icinginks, we provide high-quality edible image paper and edible image printers that transform your cake decorating into professional art. Our products are designed to make personalized creations easy and accessible for home bakers and professionals.
Our edible image printers offer vibrant colors, ensuring your images pop on your cakes and cookies. The results are stunning and delicious, paired with our premium edible image paper. Whether you're printing custom images or business logos, our products help elevate your treats easily and precisely.
Explore our wide range of edible supplies at Icinginks for your next creative endeavor!
FAQs
1. What is edible image paper made from?
Edible image paper is typically made from rice paper or sugar sheets. Rice paper is lightweight and more flexible, while sugar sheets are thicker and provide a smoother texture. Both are safe to consume and are designed to hold edible ink when printed with an edible image printer.
2. How do I print on edible image paper?
You’ll need an edible image printer to print on edible image paper. These printers use edible ink to print custom images onto the paper, ensuring they are safe for consumption. After printing, let the pictures dry before cutting and applying them to your baked goods.
3. Can I use any printer for edible images?
No, you cannot use just any printer for edible images. You need an edible image printer designed to handle edible inks and papers. These printers are specifically built to produce vibrant, high-quality, edible photos that are safe for food use.
4. How do I store edible images?
Store edible images in a cool, dry place away from direct sunlight. Keeping them in an airtight container is important to maintain their freshness and prevent them from becoming too dry or too moist. Proper storage ensures that they stay in good condition for use.
5. Can I cut edible images into shapes?
You can cut edible images into various shapes using scissors or a precision cutter. The edible image paper is flexible and can be trimmed to fit your design. Just handle the images carefully to avoid tearing or smudging the print.
Related Post:
How to Print Edible Images on Cookies: A Step-by-Step Guide
The Ultimate Guide to Printing Edible Images for Events
Get Custom Printed Edible Image Prints for Cakes Online
5 Things You Should Know About Edible Images