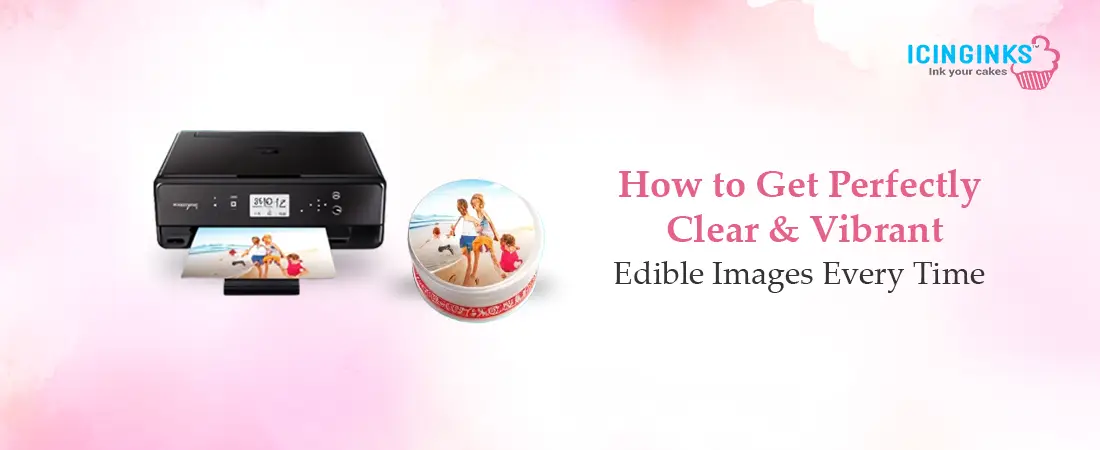
Ever wished your cakes could double as works of art? Thanks to edible printing, they can! Whether you're printing a cherished photo, a company logo, or intricate designs, the quality of your edible images can make or break the final look. But you need the tools and techniques to achieve crisp, vibrant, and professional-looking prints.
One essential tool in your arsenal is an edible cake printer—designed to print food-safe images on sugar sheets, wafer paper, or frosting sheets. However, just owning the printer isn’t enough; understanding how to optimize the quality of your prints is key to stunning cake decorations.
This guide will explore expert tips to ensure your edible images are flawless every time.
1. Choose High-Resolution Images
The foundation of a great edible image starts with the picture itself. Low-quality, pixelated images will print exactly as they appear—blurry and dull. To avoid this:
- Use high-resolution photos (300 DPI or more).
- Avoid stretched or distorted images.
- Edit and enhance images using design software before printing.
Remember, your original image will look sharper when printed on an edible image sheet.
2. Invest in a High-Quality Edible Cake Printer
Not all printers are created equal! A standard inkjet printer won’t work for edible printing, as it uses non-food-safe ink. Instead, invest in a dedicated edible cake printer that handles food-grade ink and specialty sheets.
Consider these factors when selecting a printer:
- Compatibility with edible inks and different edible image sheets.
- Ability to print in high resolution with precise color matching.
- Ease of cleaning and maintenance to prevent ink clogs.
A good printer ensures your edible images come out rich in color and free from smudges or streaks.
3. Use Premium-Quality Edible Ink
Edible ink plays a crucial role in the vibrancy and clarity of your prints. Low-grade inks can result in faded or uneven prints. To get the best results:
- Choose FDA-approved edible ink from reputable brands.
- Ensure the ink is compatible with your edible cake printer.
- Store ink cartridges properly to prevent drying or clogging.
With the right ink, your edible images will look professional and polished.
4. Select the Right Edible Image Sheet
Your choice of edible image sheet affects how the final print appears. There are different types of sheets available, including:
- Frosting sheets – Best for vibrant colors and fine details.
- Wafer paper – Great for light and airy decorations but less vivid.
- Chocolate transfer sheets – Perfect for printing on chocolates.
For cakes, frosting sheets are often the best choice as they absorb edible ink smoothly and produce high-quality edible images.
5. Adjust Printer Settings for the Best Output
Even with the best printer and materials, improper settings can ruin edible images. To get crisp, professional-quality prints:
- Set the printer to the highest print quality mode.
- Adjust color settings to avoid overly dark or faded prints.
- Perform regular test prints on regular paper before using an edible image sheet.
Fine-tuning these settings ensures your edible images print with the right sharpness and color accuracy.
6. Properly Handle and Apply Edible Images
After printing, careful handling is essential to avoid damage. Follow these tips:
- Allow the printed image to dry for at least 10 minutes before handling.
- Gently remove the edible image sheet from the backing without bending it.
- Apply the image to a slightly moist cake surface for the best adhesion.
If applying buttercream, lightly mist the surface with water to help the image stick without dissolving.
7. Store Edible Images Correctly
To maintain the quality of printed edible images, proper storage is necessary. Exposure to moisture or heat can cause smudging or fading. Keep your printed sheets:
- In a cool, dry place away from direct sunlight.
- Inside an airtight container to prevent humidity damage.
- Away from strong odors, as edible sheets can absorb smells.
Proper storage ensures your edible images stay fresh and vibrant until they’re ready for use.
8. Maintain Your Edible Cake Printer Regularly
A well-maintained edible cake printer is the key to consistent print quality. Regular cleaning prevents ink clogs and keeps colors bright. Here’s how:
- Run a nozzle check and cleaning cycle frequently.
- Use cleaning cartridges to flush out old ink.
- Store your printer in a dust-free environment when not in use.
Taking care of your printer ensures that every edible image you print looks flawless and professional.
Conclusion: Print Like a Pro!
Creating high-quality edible images is more than just hitting the ‘Print’ button—it requires the right tools, materials, and techniques. From using a top-tier edible cake printer to selecting the best edible image sheet, every step plays a role in achieving a picture-perfect print.
Following these expert tips, you can print stunning, professional-quality edible images that transform your cakes into edible masterpieces. Now, go ahead and bring your sweet creations to life!
Create Stunning Edible Prints with Icinginks' Edible Printing Solutions
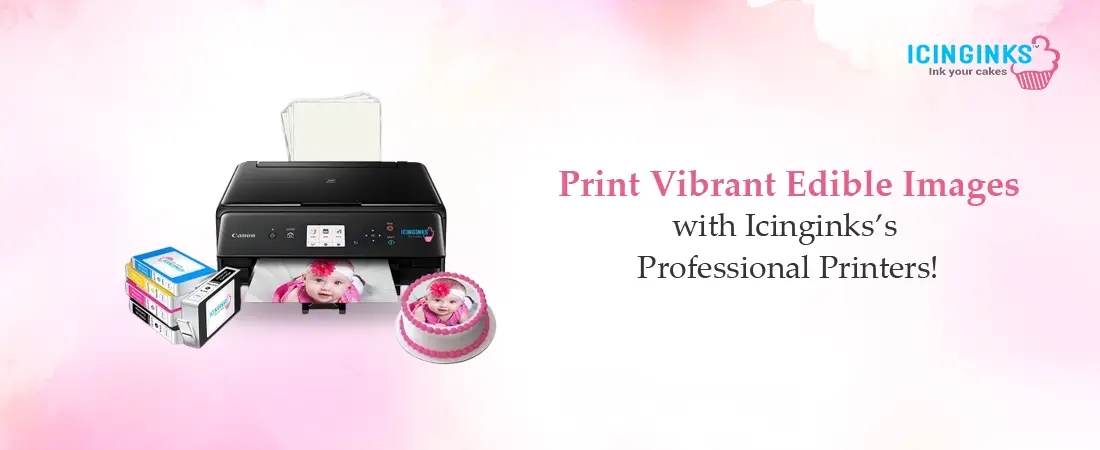
Bring your cake decorations to life with Icinginks' high-quality Canon and Epson edible printers. Designed for precision and vibrant color accuracy, our edible cake printers make printing sharp, detailed images on frosting sheets, wafer paper, and chocolate transfer sheets easy.
At Icinginks, we provide everything you need for edible printing, from premium edible inks to top-grade frosting sheets. Our products are FDA-compliant, easy to use, and perfect for professionals and home bakers.
Whether personalizing cakes, cupcakes, or cookies, Icinginks helps you achieve professional-quality results effortlessly.
Explore our full range of edible cake printers and edible printing supplies today—visit Icinginks and start printing delicious designs!
FAQs
1. Why do my edible images look faded after printing?
Faded edible images can result from low-quality ink, incorrect printer settings, or using an unsuitable image sheet. Ensure you're using high-resolution images, set your edible cake printer to the highest quality mode, and choose premium edible inks for vibrant, long-lasting prints.
2. Can I use regular paper settings for printing edible images?
No, printing on an edible image sheet requires specific settings. Use the highest print quality and select the appropriate paper type in your printer’s settings. Running a test print on regular paper before printing on an edible sheet can help avoid ink smudging or misalignment.
3. How do I prevent my edible images from cracking?
Cracking often happens if the edible image sheet dries or is applied to a dry cake surface. Store sheets in an airtight container and use them like fresh buttercream on a slightly moist surface. Lightly misting the cake can help the image adhere smoothly without breaking.
4. What is the best way to store edible images before using them?
Keep edible images in a cool, dry place away from heat, humidity, and direct sunlight. Storing them in a sealed bag or airtight container prevents them from becoming brittle or curling at the edges. Avoid refrigerating them, as condensation can cause smudging.
5. Can I use an edible cake printer for other food decorations?
Yes! In addition to cakes, edible cake printers can print designs for cookies, cupcakes, chocolates, and even macarons. Ensure you’re using the right edible image sheet for each application, such as frosting sheets for cakes and wafer paper for lighter decorations.
Related Post
Edible Printers: The Ultimate Tool for Crafting Customized Cakes that Impress!
How to Choose the Right Edible Paper for Your Edible Printer?