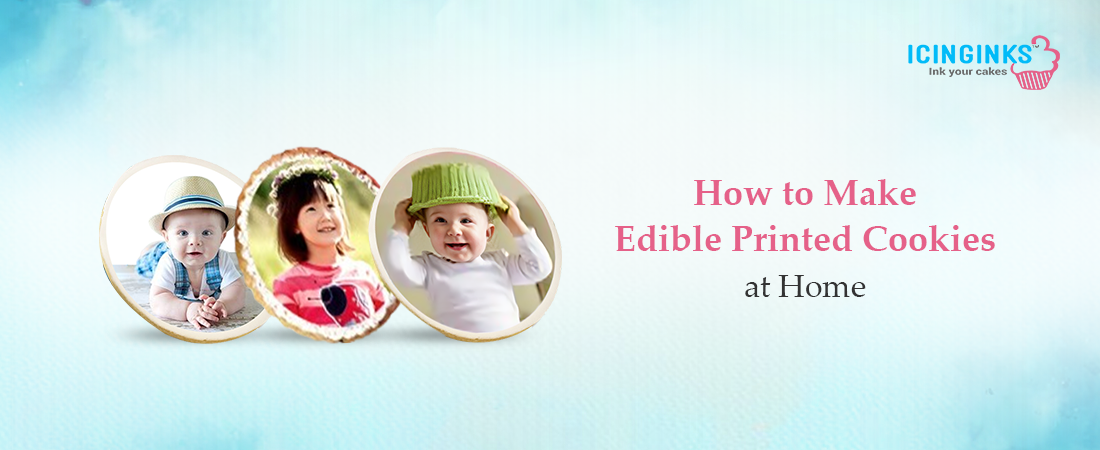
Edible printed cookies have become popular for birthdays, weddings, corporate events, and other celebrations. They allow you to customize cookies with beautiful, intricate designs, photos, and text. The good news is you don't need to be a professional baker to make edible printed cookies at home. With the right tools and creativity, you can create stunning, personalized cookies that impress your friends and family.
This beginner's guide will walk you through making your own edible printed cookies, including what tools you need, how to bake rectangle cookies, and how to use a cookie printer to add custom designs.
What You Need to Make Edible Printed Cookies
Before making your edible printed cookies, you must gather the necessary tools and ingredients. The process involves baking and decorating, so you'll need items for each step.
Tools for Baking
- Baking tray – To bake your cookies.
- Rolling pin – Roll out the cookie dough to an even thickness.
- Rectangle cookie cutters – These are used to create the perfect shape for your edible printed cookies.
- Parchment paper – To prevent the cookies from sticking to the tray.
- Measuring cups and spoons – For precise ingredient measurements.
Ingredients for Cookies
- Flour – All-purpose flour works best for cookie dough.
- Butter – Unsalted butter at room temperature.
- Sugar – Granulated sugar adds sweetness.
- Eggs – For binding the ingredients.
- Vanilla extract – For added flavor.
Tools for Printing
- Edible ink printer (cookie printer) – A special printer that uses edible ink to print on icing sheets.
- Edible ink cartridges – These are specifically made for printing on food products.
- Icing sheets (also called frosting sheets) – Thin layers of icing that go through the printer.
- Food-safe scissors – For trimming the icing sheets to fit your cookies.
- Edible glue or piping gel – Attach the printed icing sheets to the cookies.
Step-by-Step Guide to Baking Rectangle Cookies
Now that your tools are ready, it's time to bake the cookies. Rectangle cookies are often preferred for edible printed cookies because they provide a neat, even surface for your printed designs.
- Prepare the Cookie Dough
Start by mixing your dry ingredients (flour, baking powder, salt) in one bowl. In another, cream the butter and sugar together until light and fluffy. Add the eggs and vanilla extract to the butter mixture, then slowly incorporate the dry ingredients until a dough forms.
- Chill the Dough
Once your dough is ready, wrap it in plastic wrap and refrigerate it for at least an hour. Chilling the dough helps it hold its shape when cutting and baking.
- Roll and Cut the Dough
After chilling, roll the dough out on a floured surface until it's about 1/4 inch thick. Use a rectangle cookie cutter to cut the dough into evenly sized shapes. Carefully place the cut-out dough onto a parchment-lined baking tray.
- Bake the Cookies
Preheat your oven to 350°F (175°C) and bake the cookies for 10-12 minutes or until they start turning golden around the edges. Let them cool completely before decorating.
How to Print and Apply Edible Images
Once your cookies are baked and cooled, it's time to bring them to life with edible printed designs. This is where your cookie printer and edible ink come into play.
- Select and Design Your Images
Choose the images or designs you want to print on your cookies. You can use photos, logos, or simple patterns. Make sure the images are scaled to fit your rectangle cookies. Most edible printers come with software that allows you to easily resize and edit your designs.
- Load the Icing Sheets into the Printer
Just like you would load paper into a regular printer, insert the icing sheets into the tray of your edible ink printer. Ensure the printable side of the sheet is facing up and your edible ink cartridges are properly installed.
- Print Your Designs
Once your designs are ready, hit print! The edible ink will transfer your design onto the icing sheets, creating a beautiful, edible image. Allow the printed sheets to dry for about 10 minutes before handling them.
- Trim and Attach the Icing Sheets
Carefully cut the printed icing sheets to the size of your cookies using food-safe scissors. Use a thin layer of edible glue or piping gel to attach the icing sheet to the top of each cookie. Press gently to ensure the sheet adheres evenly.
Tips for Perfecting Your Edible Printed Cookies
Making edible printed cookies at home is fun, but there are a few tips and tricks for getting the best results.
- Use High-Quality Images
The quality of your edible printed cookies depends largely on the resolution of the images you choose. Use high-resolution images for the clearest, most vibrant results.
- Keep Your Icing Sheets Flat
After printing, let the icing sheets sit flat while they dry. This prevents any curling or warping, making it difficult to attach the sheet smoothly to your cookies.
- Handle the Sheets with Care
Icing sheets are fragile, so handle them gently to avoid tearing. Use dry, clean hands when applying the sheets to the cookies.
- Store the Cookies Properly
Once your cookies are decorated, store them in an airtight container at room temperature. Avoid refrigerating them, as moisture can cause the icing sheets to become soggy.
Common Mistakes to Avoid
Even though making edible printed cookies is fairly straightforward, beginners may encounter a few common issues. Here's what to watch out for:
- Overbaking the Cookies
Overbaked cookies can become too hard, making them less enjoyable and difficult to decorate. Check the baking time to ensure the cookies remain soft and easy to bite into.
- Inconsistent Cookie Sizes
Make sure all your cookies are cut to the same size for a polished look, especially if you're using rectangle cookies for uniform printed designs.
- Using Too Much Glue
When attaching the icing sheets, use only a thin layer of edible glue or piping gel. Too much glue can cause the image to wrinkle or become uneven.
Create Stunning Edible Printed Cookies with Icinginks

At Icinginks, we offer everything you need to make professional-quality edible printed cookies at home. Our high-performance cookie printers are designed to easily deliver vibrant, precise images on rectangle cookies and other shapes. Whether you're personalizing cookies for a birthday, wedding, or corporate event, our tools help you achieve flawless results every time.
Paired with our FDA-compliant edible inks and premium icing sheets, you can print custom designs, logos, and photos directly onto your cookies. The vivid colors and sharp details will impress your customers, family, or friends.
Whether a home baker or a professional, Icinginks provides reliable and safe tools to elevate your cookie decorating game. Explore our wide range of edible printing products to create eye-catching cookies for any occasion!
Frequently Asked Questions (FAQs)
1. Can I Use a Regular Printer for Edible Printed Cookies?
No, regular printers are not food-safe. You need an edible ink printer specifically designed for use with edible ink cartridges and icing sheets.
2. Can I Reuse My Edible Ink Printer for Regular Paper?
It's not recommended. To avoid cross-contamination, a printer should only be used for food purposes once it has been used for edible ink.
3. How Long Do Edible Printed Cookies Last?
Edible printed cookies can last up to two weeks when stored in an airtight container at room temperature. However, for the freshest taste, they're best enjoyed within a few days of decorating.
More interesting blogs to read on Icinginks
Edible Pens vs. Markers: When to Use Each
The Ultimate Guide to Cake Printer Maintenance and Troubleshooting
Wafer Sheets: A Budget-Friendly Solution for Event Décor
A Guide to Edible Fabric Sheet Stencils: Tips and Tricks
Selecting the Right Edible Ink for Your Cake Decorating