Imagine biting into a cookie topped with a perfect picture of your favorite superhero, a beloved pet, or a stunning landscape. This isn't magic; it's the power of edible images! These incredible pictures can be printed on edible paper and placed on cookies, cakes, and more, transforming ordinary treats into eye-catching delights.
Want to learn how to create your edible image masterpieces? This guide will walk you through every step, from choosing the right image to applying it perfectly to your cookies. Get ready to impress your friends and family with your baking skills!
Essential Equipment and Ingredients
Before you start working with edible images, gather these essential tools and ingredients:
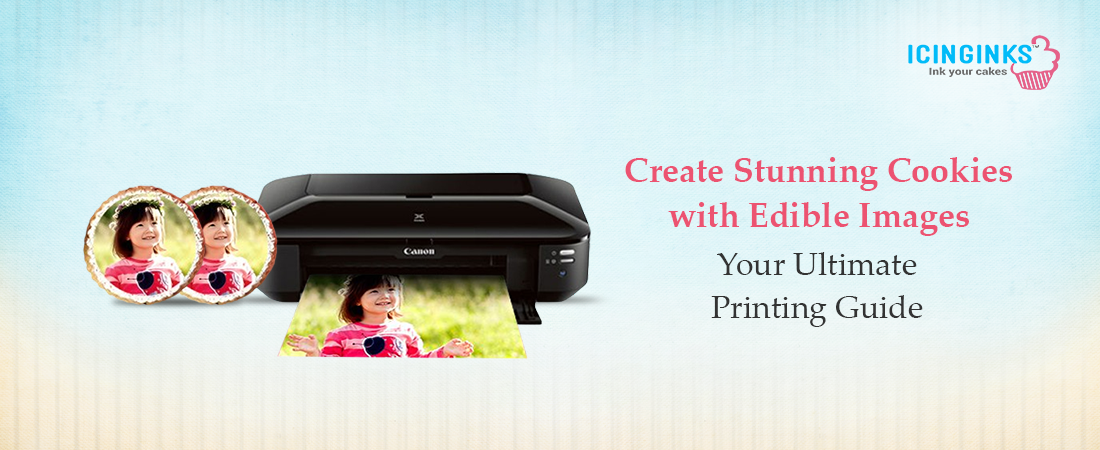
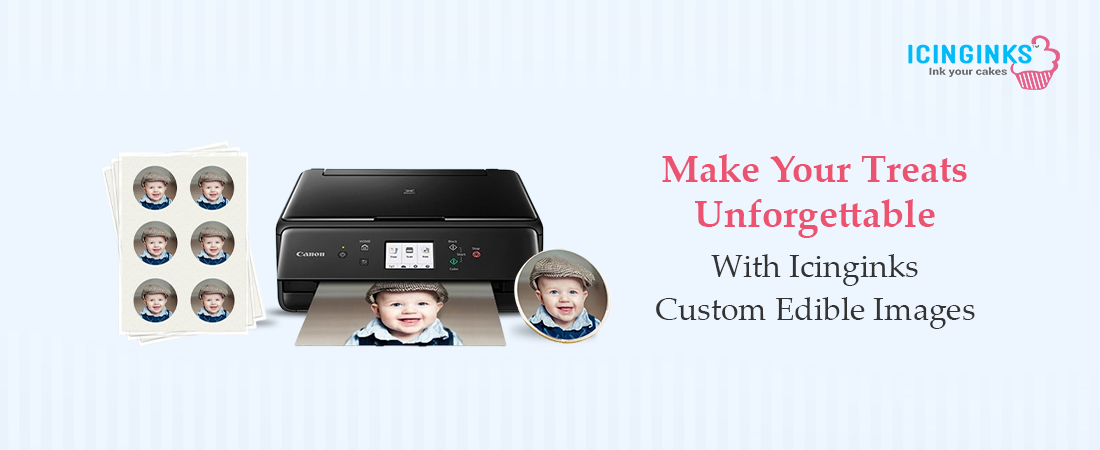
1. Edible Image Printer
Invest in a specialized printer designed specifically for creating edible images. This printer uses food-grade ink to produce high-quality prints.
2. Edible Ink Cartridges
Equip your printer with these cartridges to achieve high-quality prints of your edible images.
3. Edible Paper
Choose the right type of edible paper, such as icing sheets or wafer paper, which is essential for printing and transferring your designs onto cookies.
4. Cookie Cutter
Shape your cookies into the desired form before applying the edible images.
5. Royal Icing
This versatile adhesive helps secure the edible images firmly onto your cookies. Apply it evenly to ensure a smooth finish.
6. Piping Bag and Tip
Utilize these tools to precisely apply royal icing, which helps attach the edible images and add decorative elements.
7. Image Editing Software
Prepare and customize your designs for edible images before printing.
With these tools and ingredients, you can easily create beautiful and professional edible images for your cookies.
Printing Your Edible Images
Once your design is finalized, it's time to print your edible images. Begin by loading the edible paper into your printer according to the manufacturer's instructions. Be careful when handling the paper, as it can be quite delicate and prone to tearing.
Ensure your printer has the correct settings for edible ink and paper. Print your edible images and allow them to dry completely on a flat surface. This drying time is crucial for ensuring the colors remain vibrant and the photos do not smudge.
Applying the Edible Images to Your Cookie
Applying your edible images to cookies is where your creativity shines. Follow these detailed steps to achieve a perfect result:
1. Prepare Your Cookie
Bake your cookies and let them cool completely. Ensure they are at room temperature to avoid any issues with melting or warping the edible images.
2. Apply Royal Icing
Use a piping bag to apply a thin, even layer of royal icing to the area where you plan to place your edible image. This layer will act as the adhesive that holds the image in place. Be sure to apply the royal icing evenly to avoid lumps or gaps.
3. Place the Edible Image
Gently lift the printed image from the backing paper and carefully position it on the wet royal icing. Place it slowly and precisely to avoid misalignment. Once the image is in place, gently press it down and smooth out any air bubbles or wrinkles. Use a clean, dry brush or a fondant smoother to help achieve a smooth finish.
4. Secure the Image
Allow the cookie to dry completely in a cool, dry place. This drying time ensures that the royal icing sets properly and the edible image adheres firmly. Avoid touching or moving the cookie until fully dry to prevent any shifting or damage to the edible image.
By following these steps, you'll successfully apply your edible images to cookies, creating a beautifully decorated treat that will impress you.
Tips for Perfect Edible Images
1. Handle edible paper with care
Avoid touching the printed side of the edible paper with your fingers.
2. Use high-quality ingredients
The quality of your edible images depends on the quality of your edible paper and ink.
3. Practice makes perfect
Don't be discouraged if your first few attempts aren't perfect. With practice, you'll improve.
4. Experiment with different designs
Have fun and explore different image ideas.
Transform Your Treats with Icinginks Edible Printing Supplies
Looking to enhance your cookie and cake decorating with captivating edible images? Look no further than Icinginks.
Icinginks is a leading provider of high-quality edible printing supplies, offering everything you need to create dazzling custom edible cake images. Our user-friendly website lets you easily upload your favorite photos, designs, or logos and transform them into edible masterpieces. Whether personalizing birthday cookies with a child's favorite character or creating a show-stopping centerpiece cake with a company logo, Icinginks empowers you to bring your vision to life.
Our extensive selection of edible paper caters to different decorating styles and preferences. Choose from icing sheets for a seamless blend with your frosted cookies or cupcakes, or opt for wafer paper for a more delicate touch. We also offer pre-cut edible image toppers in various shapes and sizes, perfect for adding a quick and easy personalized touch to your treats.
With Icinginks, creating stunning, edible images is easy. Our commitment to quality and customer satisfaction ensures a seamless experience from design to delicious decoration.
Discover the endless possibilities of edible image decorating with Icinginks.
FAQs
1. What is edible image paper made of?
Edible image paper typically contains food-grade ingredients like starch, sugar, and water. It's designed to be safe for consumption and provides a base for printing high-quality edible images.
2. How long do edible images last?
The shelf life of edible images depends on storage conditions. Properly stored images can last several months. However, once applied to a cake or cookie, they should be consumed promptly for optimal freshness and flavor.
3. Can I use any image for an edible print?
While most images can be converted into edible prints, high-resolution images produce the best results. Avoid images with small text or intricate details, as they may not print clearly.
4. How do I apply an edible image to a cake?
To apply an edible image to a cake, gently remove the backing and place it face down on a thin layer of icing or edible glue. Smooth out any air bubbles for a seamless finish.
5. Can I use edible images on cupcakes?
Absolutely! Edible images can be used to decorate cupcakes. Apply a small amount of icing to the top of the cupcake and carefully place the edible image on top.
More interesting blogs to read on Icinginks
Step-by-Step Tutorial: How to Use Icing Sheets with Your Edible Printer
The Ultimate Guide to Edible Paint: Tips, Tricks, and Techniques
How Custom Printed Cookies Add a Unique Touch to Any Occasion
Where to Buy the Best Edible Cocktail Toppers Online: A Shopper’s Guide
How to Choose the Best Chocolate Transfer Paper for Your Baking Needs